

Most of the time when we’re flipping a home for sale, we’re not looking to reinvent the wheel or end up with editorial worthy cutting edge design, we’re updating to get the home ready for a family to move in, and if the new owner wants to splurge on a larger renovation that involves moving plumbing or framing, that’s up to them. In the meantime, they can proudly move into a home that has fresh finishes and working modern fixtures.
In my personal residence I’m all about going big, going luxe, going BOLD. Not as bold as the bathroom above (ha!) but BOLD, and that’s because I have no plans of selling my house. Ever. I refuse to sell, so I’ll do whatever I want when it comes to renovations and design in my own home, and you can too!
But what about renovating homes for sale? We’re taking these walls and colour schemes from the 1970s to the 2020s, and we want the home to appeal to as many buyers as possible so we want neutral, bright, fresh, clean, repaired and ready to go. Blank Canvases for the new owner.

The never ending Honey-Do List
Nicky comes from a long line of NYC Real Estate experts, his family owning and operating multiple multi-family buildings in Brooklyn long before he became the infamous Building Superintendent that he is today.
Having successfully completed decades of renovations and tenant turnovers in the UWS of Manhattan, including large scale commercial, pre-war rental and luxury apartments, buildings in Brooklyn and Long Island.
Through watching his NYC flips and tenant prep-for-sale turnovers, I learned a lot from NYCRE that we apply to our work here in Victoria every day.
Having a Superintendent that is the real Stack of all Trades is truly the StackHaus Ace. I have yet to find something he can’t repair or build.
What we both love to do (Dad Stack was a flipper and taught me well!) is flip homes for sale for our clients. The joy we get from improving homes is like nothing else. And how does one flip a home for sale on a budget? Lots and lots of elbow grease!
I just love working within the confines of refresh renovation, especially a time capsule like this one. As an abstract sequential learner/thinker I get immense satisfaction in repairing and making homes work for the new occupants, and knowing all the little ways to cosmetically update a room.


We applied the same winning formula that we flipped the kitchen with to the bathrooms - paint, epoxy, new fixtures, et voila! We removed SO MUCH wallpaper from this house, scrubbed the walls with TSP and perfected smooth walls with multiple layers of spackle & sanding. Painting is 75% prep work.
Using Cloverdale Paint’s fantastic cabinet paint we sanded and refinished all the bathroom cabinets, moving and replacing the hinges. After that we sprayed the inside of the boxes, applied new modern contact paper and shiny chrome hardware with new plumbing fixtures.
We recycled the cabinets as well as the tub & tile, Nicky installed a new sink, toilet, faucet, mirror, shower head and towels bar. He does it all :)

You like that black General Contractor nail? SEXY!
For the blue tub, we were quoted nearly $2,000 to have it reglazed or refitted. No thanks!
Instead we got our PPE on (Personal Protection Equipment), gas mask and goggles for protection, and carefully painted out 3 coats of enamel. You’ll have to stay tuned to see the finished product, but we are SO PLEASED with the results!
If you’re going to refinish a bathtub or tile with Tub & Tile epoxy, please remember the fumes are NASTY and no one should be in the house for at least 3 days after. Not even for a minute.

Second Coat - Almost Done!
After all of that was done we attacked the bathtub that needed an upgrade.
You’ll have to stay tuned for the listing pics and promo videos to see the end result, but here we have two coats of Tub & Tile epoxy on the tub and surround.
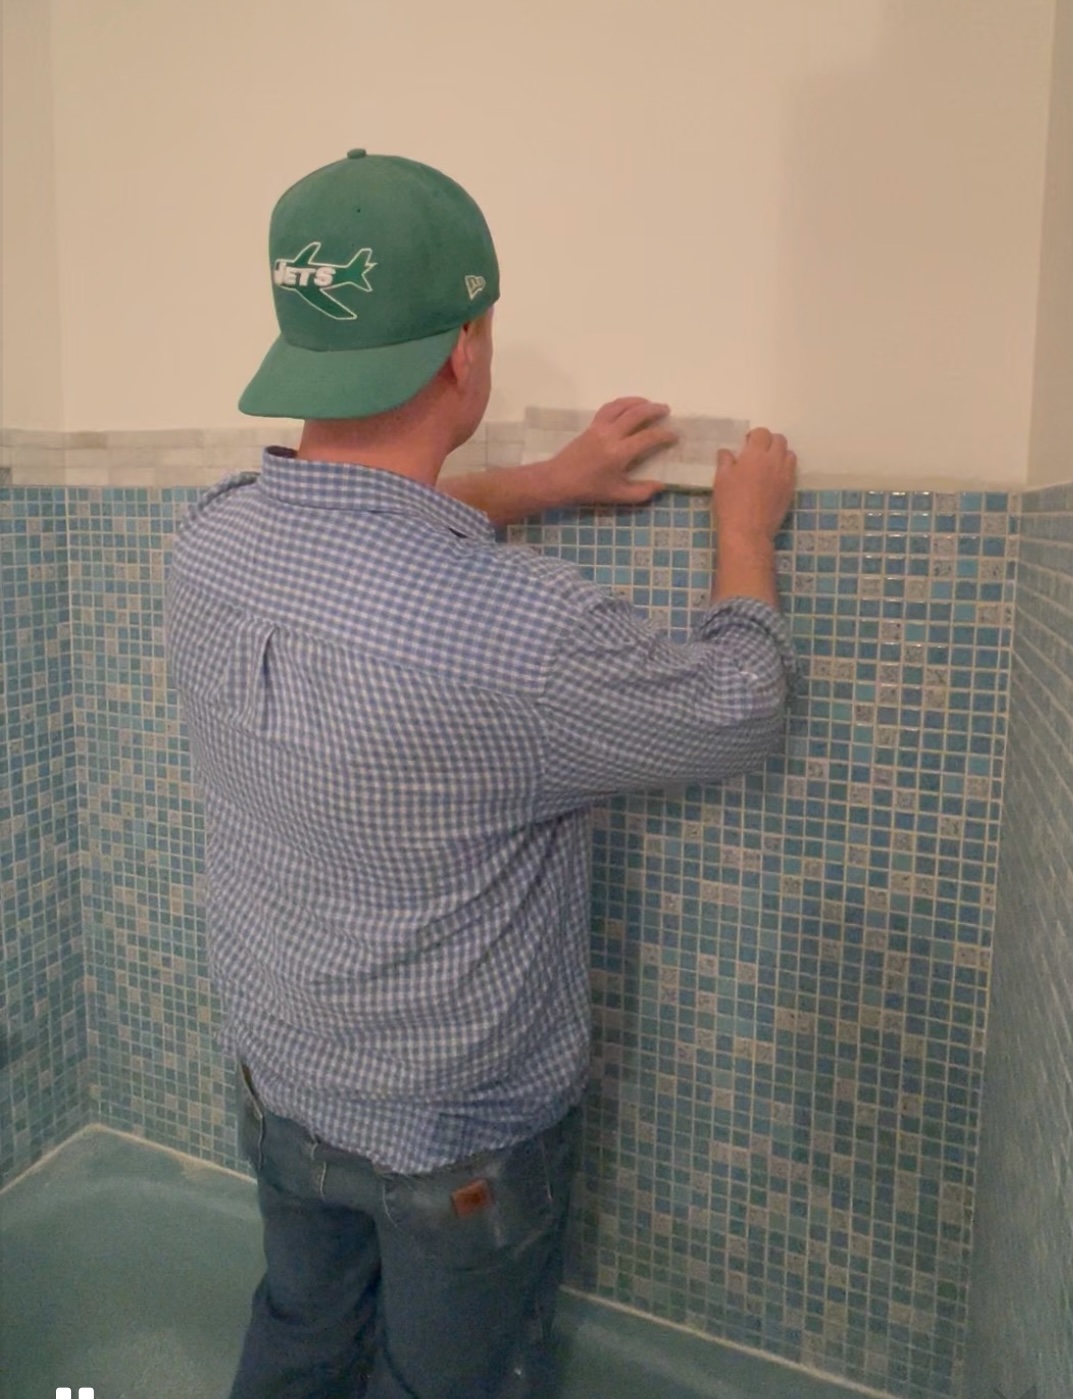
We added some marble tile and added some more 1×1 tile to extend the tiled area to a more modern height.
Looks so awesome! Can’t wait to show you the end result :)